
Thigh Blocks, Anyone?
How to find the perfect thigh block shape, size, and position for you!
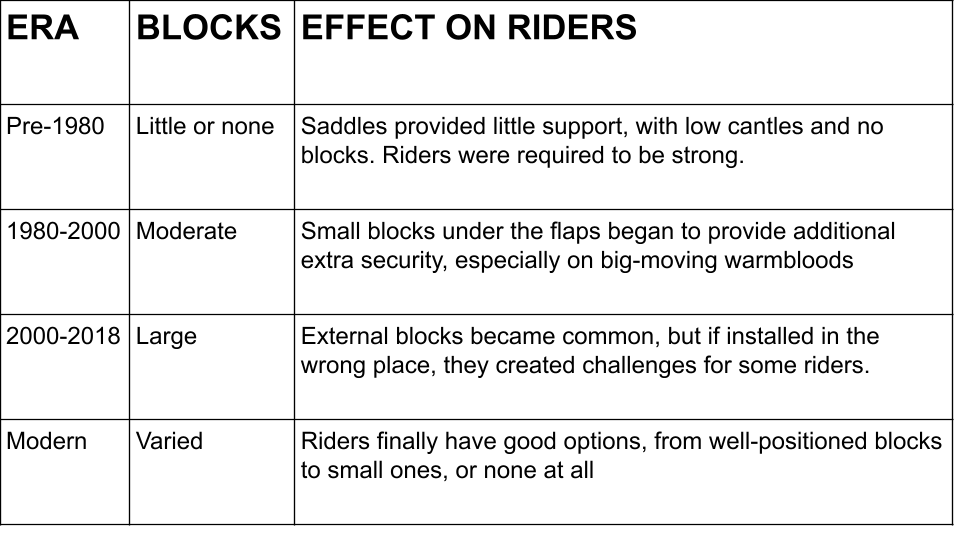
Until around 1980, thigh blocks simply didn’t exist. Saddle seats were quite flat, and flaps were, too. As big-moving European warmbloods became more common in America, saddle designs changed for both the horse’s and the rider’s benefit. Saddles were redesigned for broader backs and lower withers, while for the rider, deeper seats and small thigh blocks on top of the sweat flap/under the main flap became increasingly common.
Externally mounted thigh blocks came onto the scene around 2000, and over the next fifteen years became a standard offering, with increasingly large blocks becoming the norm. However, as thigh blocks got bigger, more and more riders struggled to ride comfortably. It was (and still is) common to see riders with hip joints forced open because their blocks are too straight, effectively holding their knees down. We’ve also seen plenty of riders who cannot fit behind their very straight blocks, and are actually riding with their thighs on top of their blocks!
With today’s science-backed understanding of rider biomechanics, we are able to utilize the thigh block as a perfectly-positioned tool.
Why use thigh blocks?
It’s important to assess whether blocks are needed, and not to automatically assume that thigh blocks are essential. More and more riders are opting for smaller blocks, or none at all. While it is absolutely true that a badly fitted thigh block can be worse than not having one, correctly positioned thigh blocks add an element of security, and can be an important part of a rider’s tool kit.
How much security should a block provide?
Well-fitted blocks should support the front of the thighs without limiting the range of motion of the hip joints, or blocking the knees. Being locked into the saddle is not a good thing. If the rider is jammed between massive thigh blocks and a high cantle, the rider’s hips will lock, causing the horse’s back to lock as well. It is absolutely possible to choose thigh blocks which will provide a rider with security and support while still allowing them to move as one with their horse.
Which shape for me?
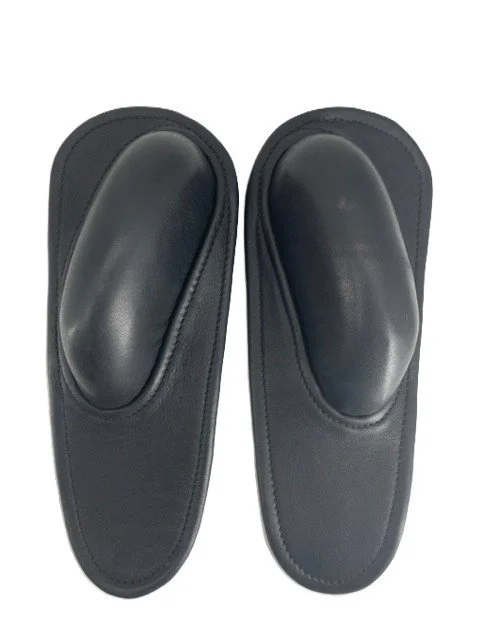
Usually the position and length of the blocks are more important than shape. However, depending on your thighs and stirrup length, you might find that shape makes a big difference, which is why EQ offers a variety of shapes to suit any rider.
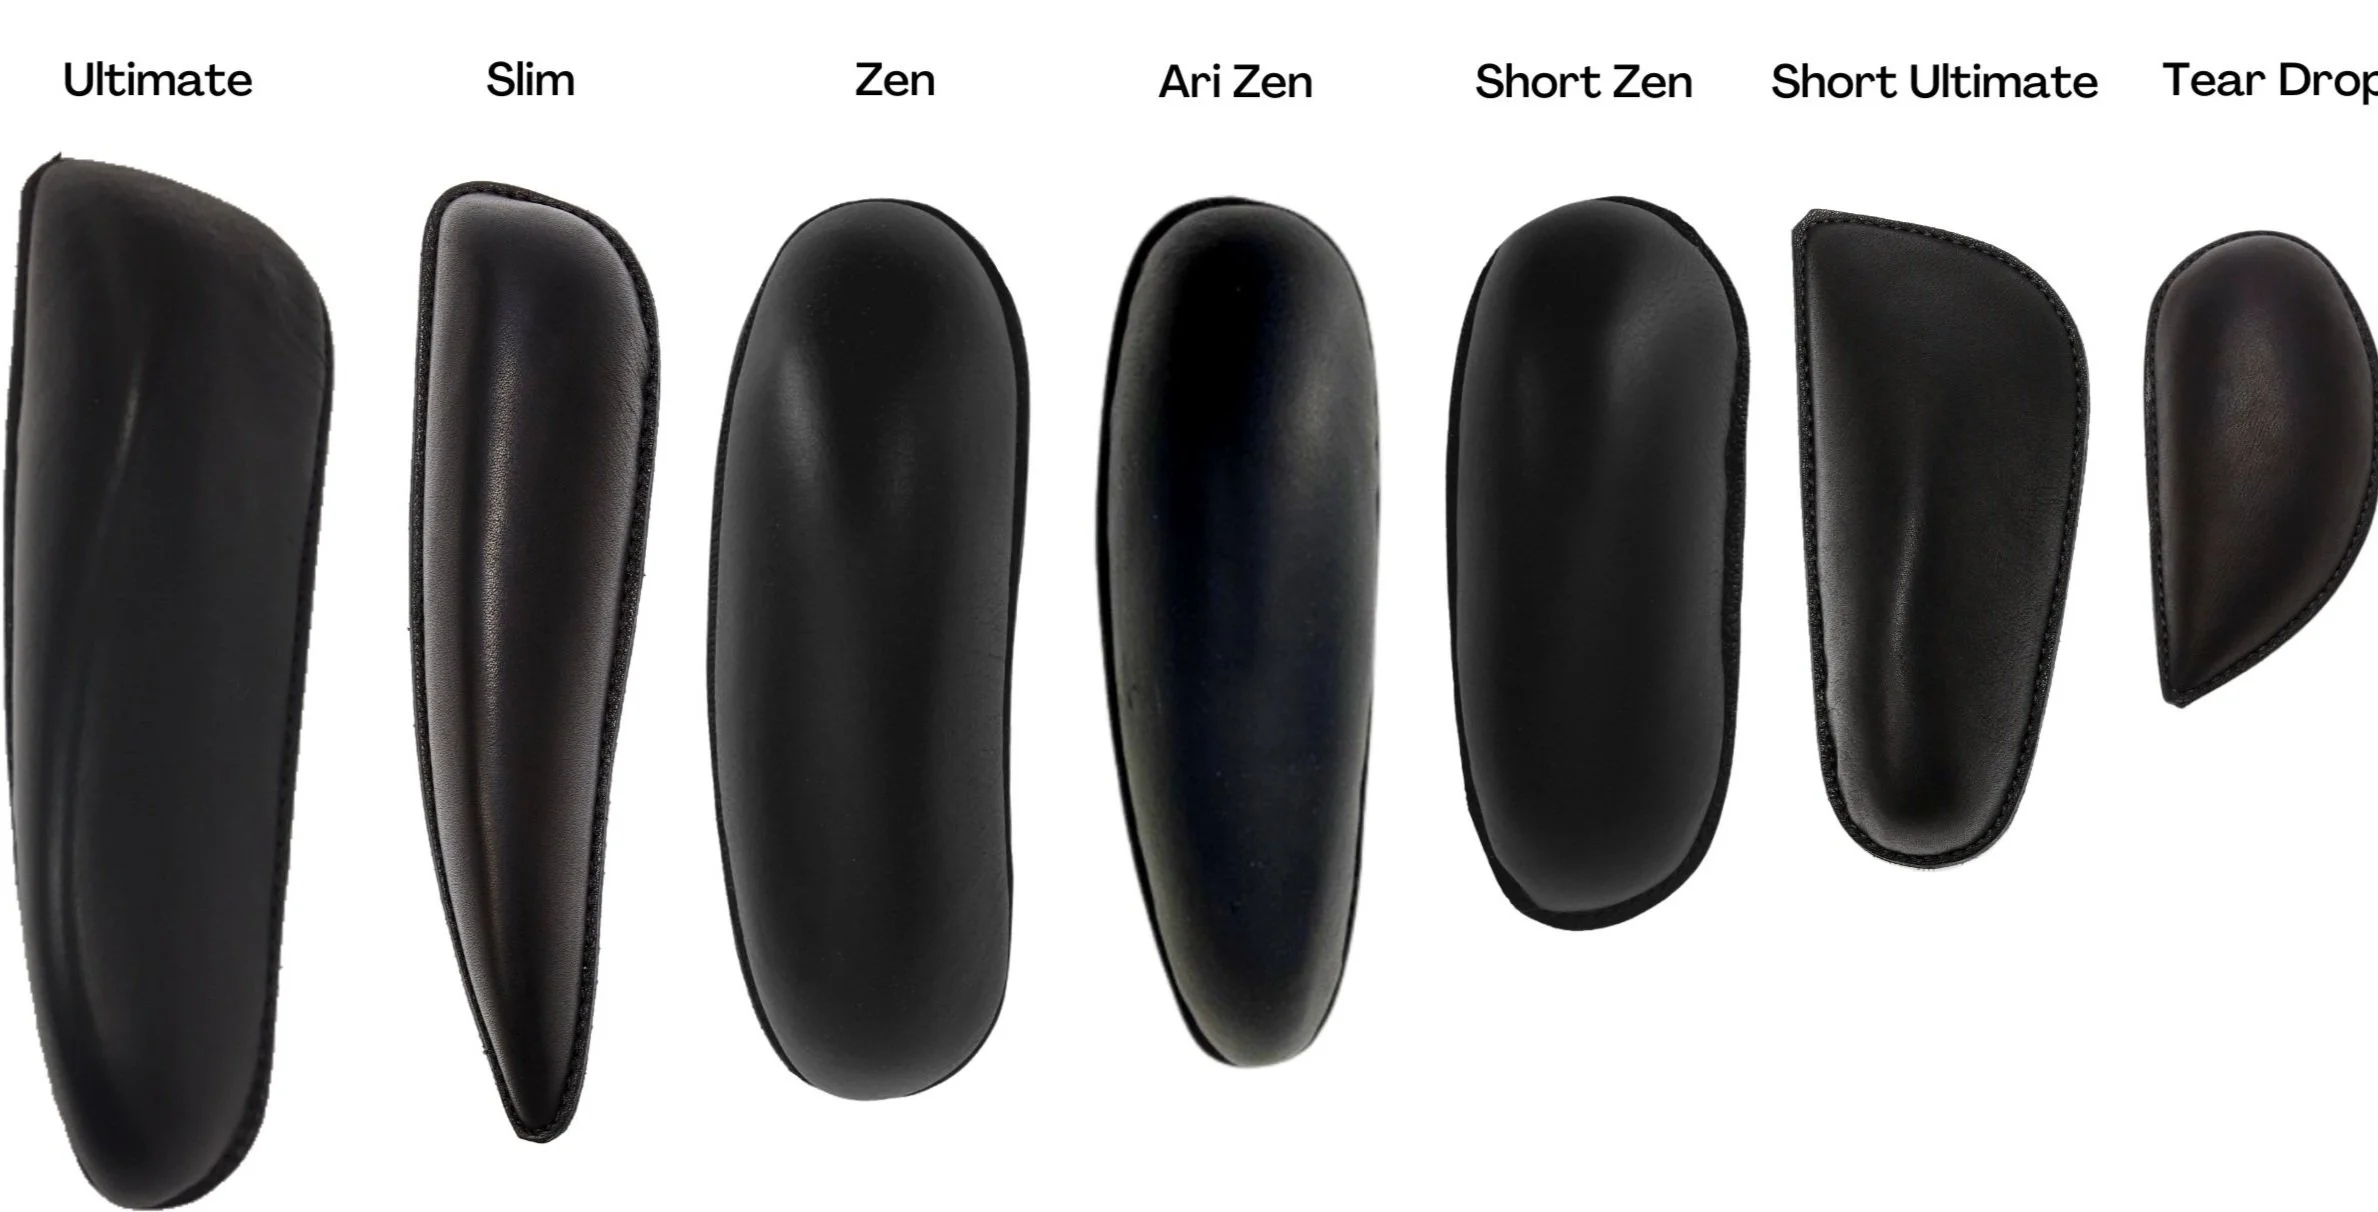
These are the block shapes we offer to riders test riding EQ saddles (we also offer a flat pad).
Length
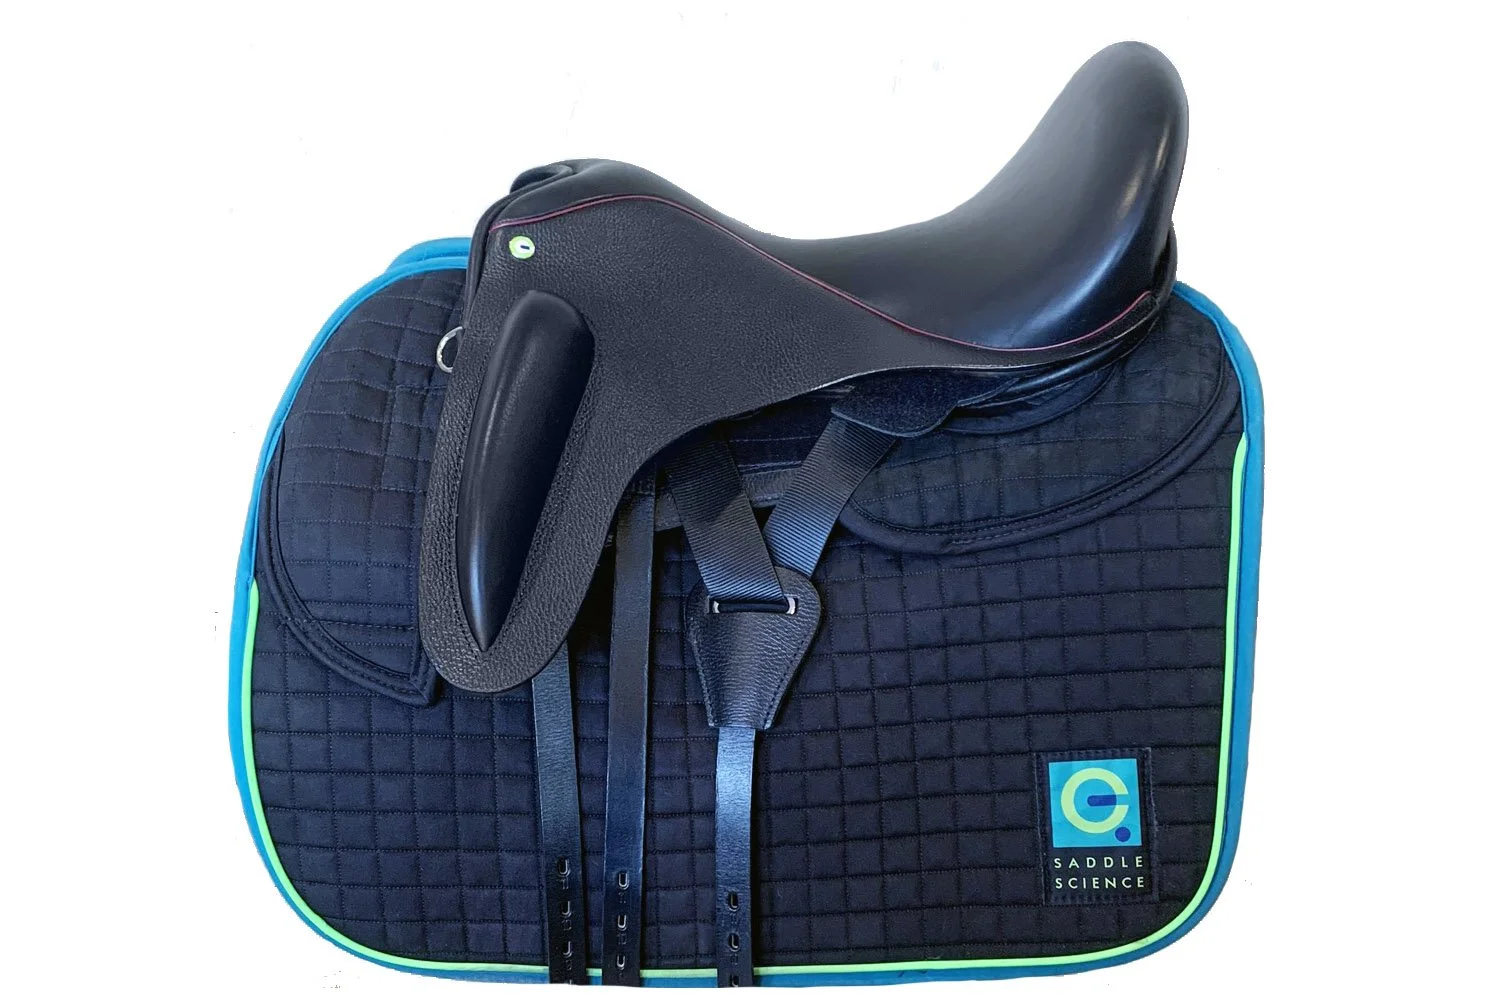
Most riders will do well with a block between 6” and 8” long, located halfway between their hip crease and knee cap. While it’s generally true that a shorter femur matches a shorter block, this isn’t always the case. You should feel free to try out different lengths and positions, as comparison is often the best way to find perfect placement.

Blocks halfway between the hip crease and knee cap provide optimal support for most riders
Position
When thigh blocks are positioned precisely for a rider, they will give optimal support, much more so than longer blocks or bigger blocks. The right placement provides a level of support which never “blocks” or inhibits active hips and thighs. The thigh blocks will be perfectly parallel to the front of the thighs, offering a sense of constant security. The block will never “bump” the rider or cause a distraction, nor will the rider have to raise their knees to try to find the blocks (which is very common in riders struggling to sit a big trot when their blocks are too far forward).
So - how do I find the perfect block, and perfect position? If you’re an EQ rider, it’s easy!
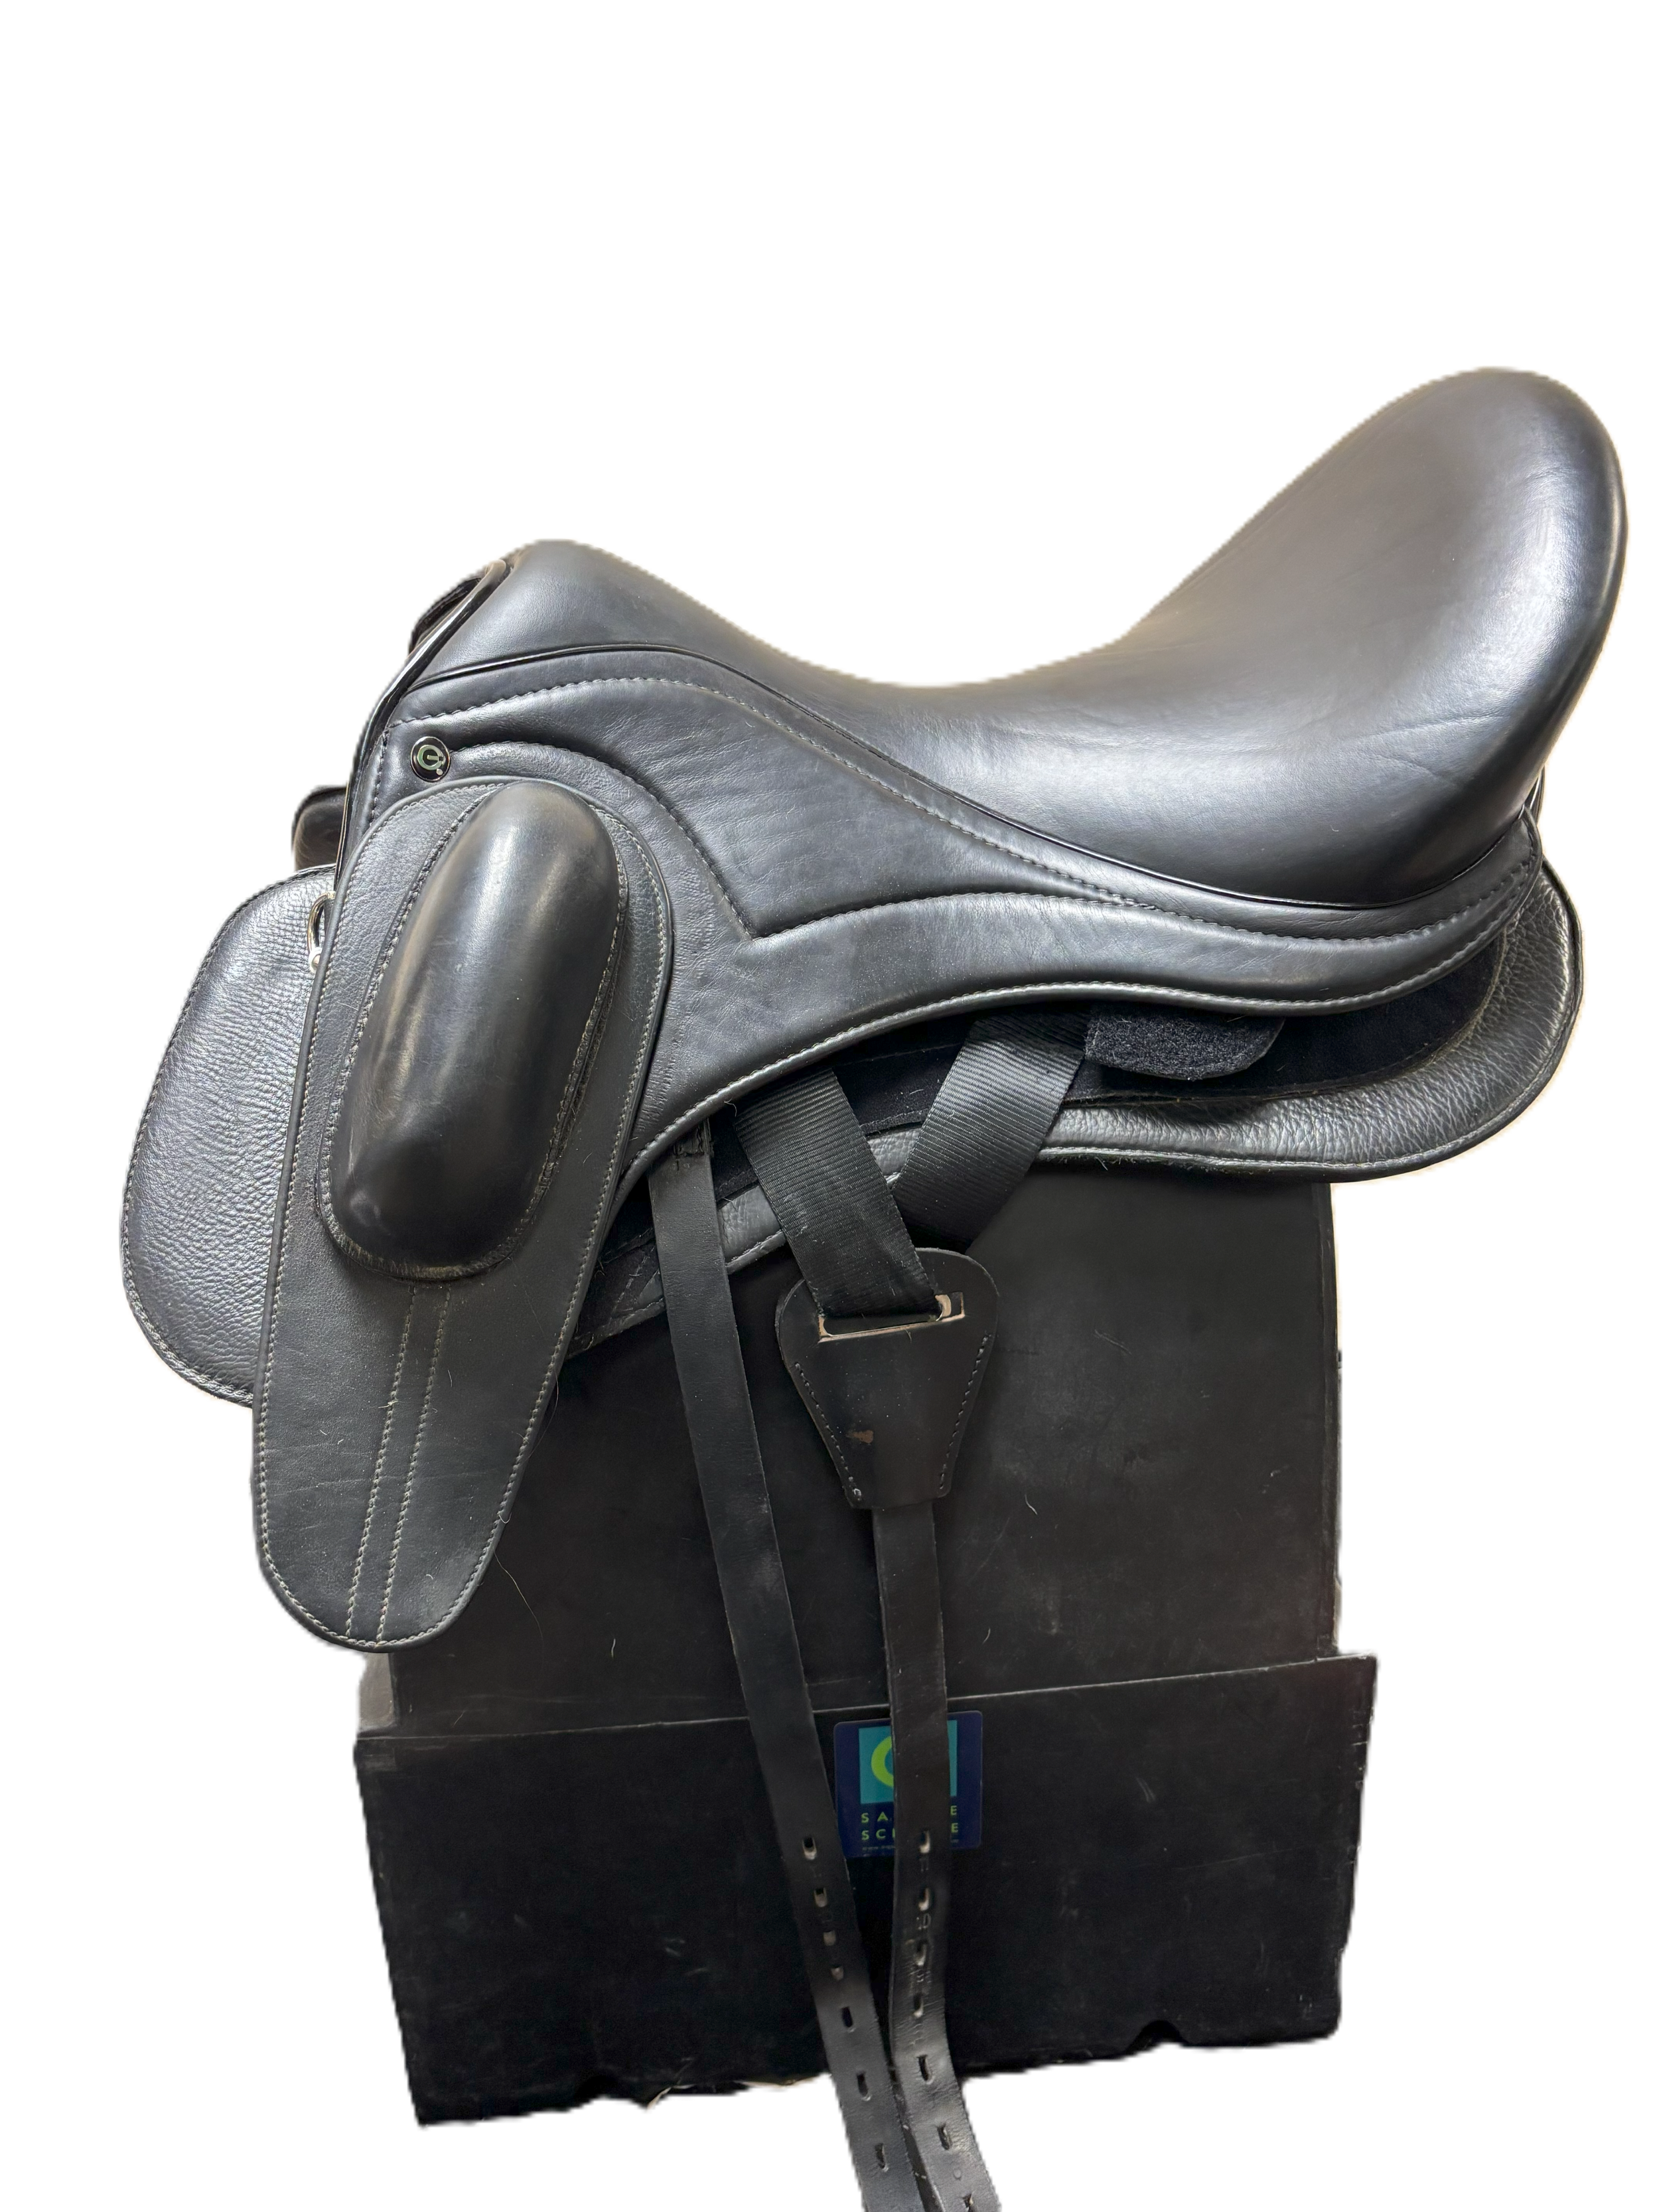
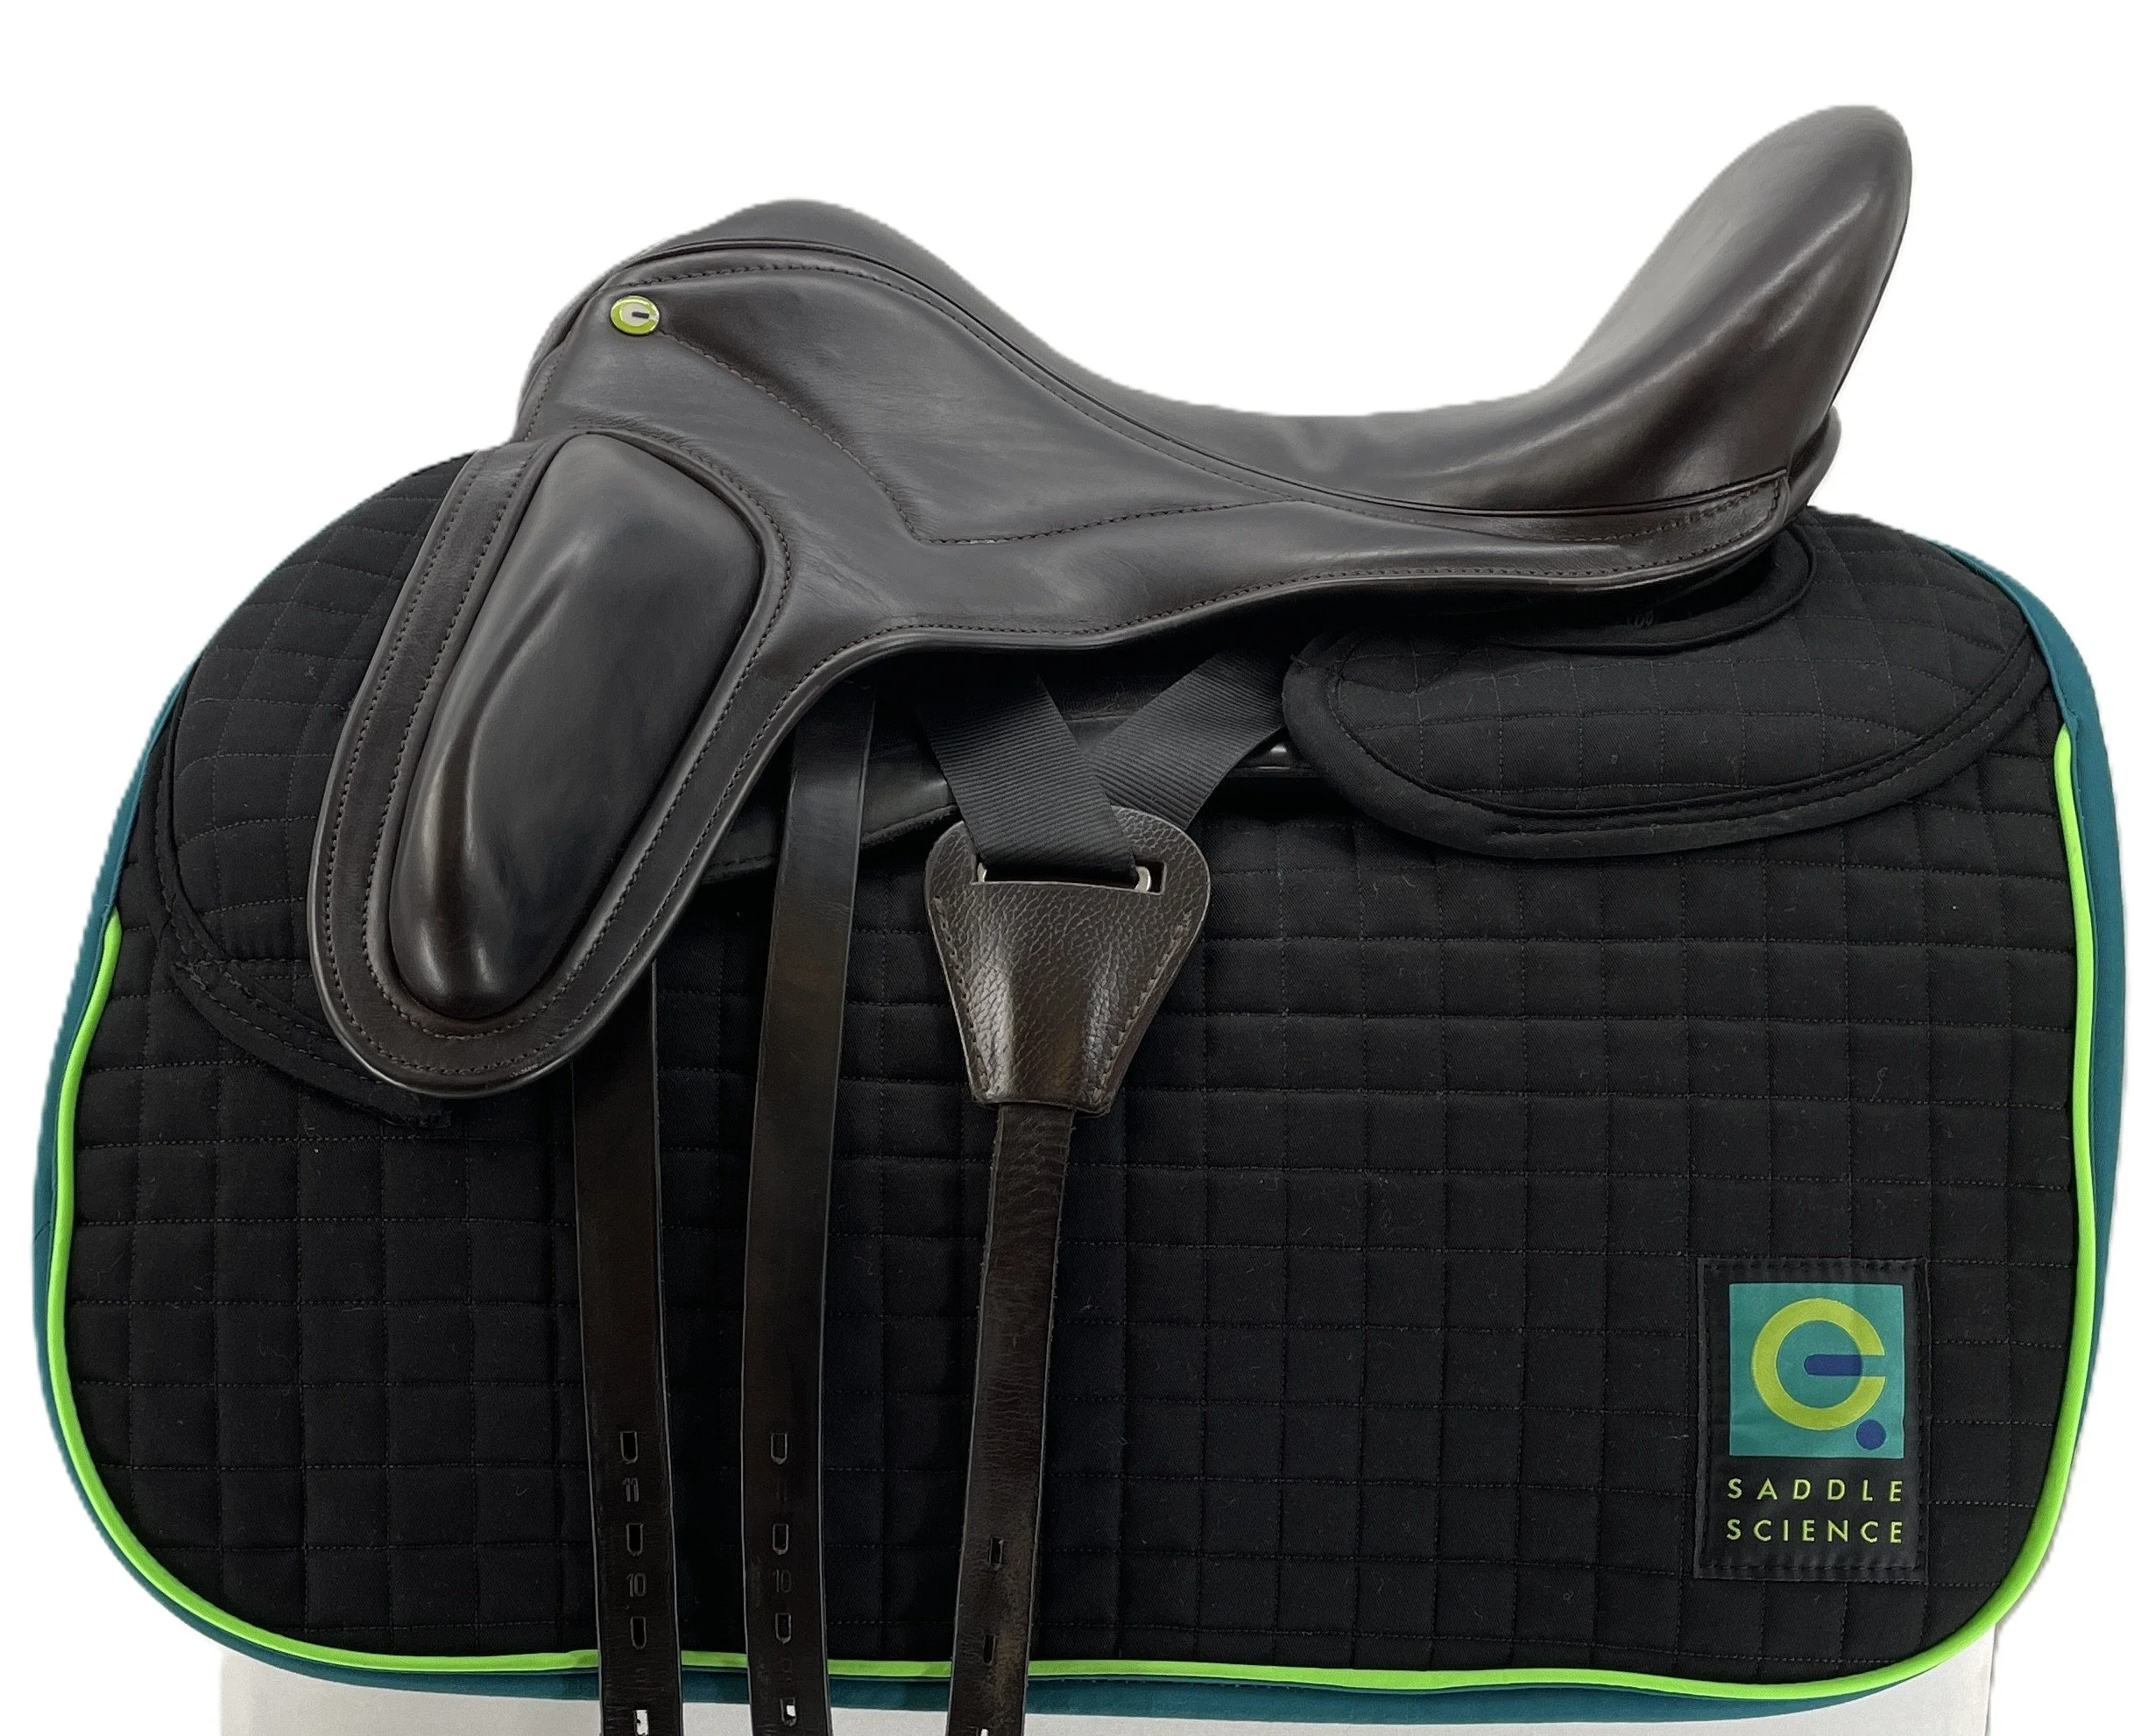
When you start a Two Week Test Ride with an EQ saddle, all of our test saddles include a patch of velcro where the thigh blocks go, so you can experiment with placement. When the saddle ships, you’ll be given a bag full of different blocks to test, including an assortment of the shapes pictured, above. Some riders purchase the velcro version of our saddles because they want unlimited adjustability in the future, while others use the tester system to create their perfect fit, and then order a saddle with sewn-in blocks in a custom position.
Starting Out
We recommend that you start with a pair of embedded blocks, which are anchored in an oval of leather and velcro, and are attached quite robustly to the saddle. These blocks will not come off accidentally. Adjustability is somewhat limited compared to our standalone blocks, but they offer a good, sturdy starting point while you and your horse grow accustomed to the EQ system.
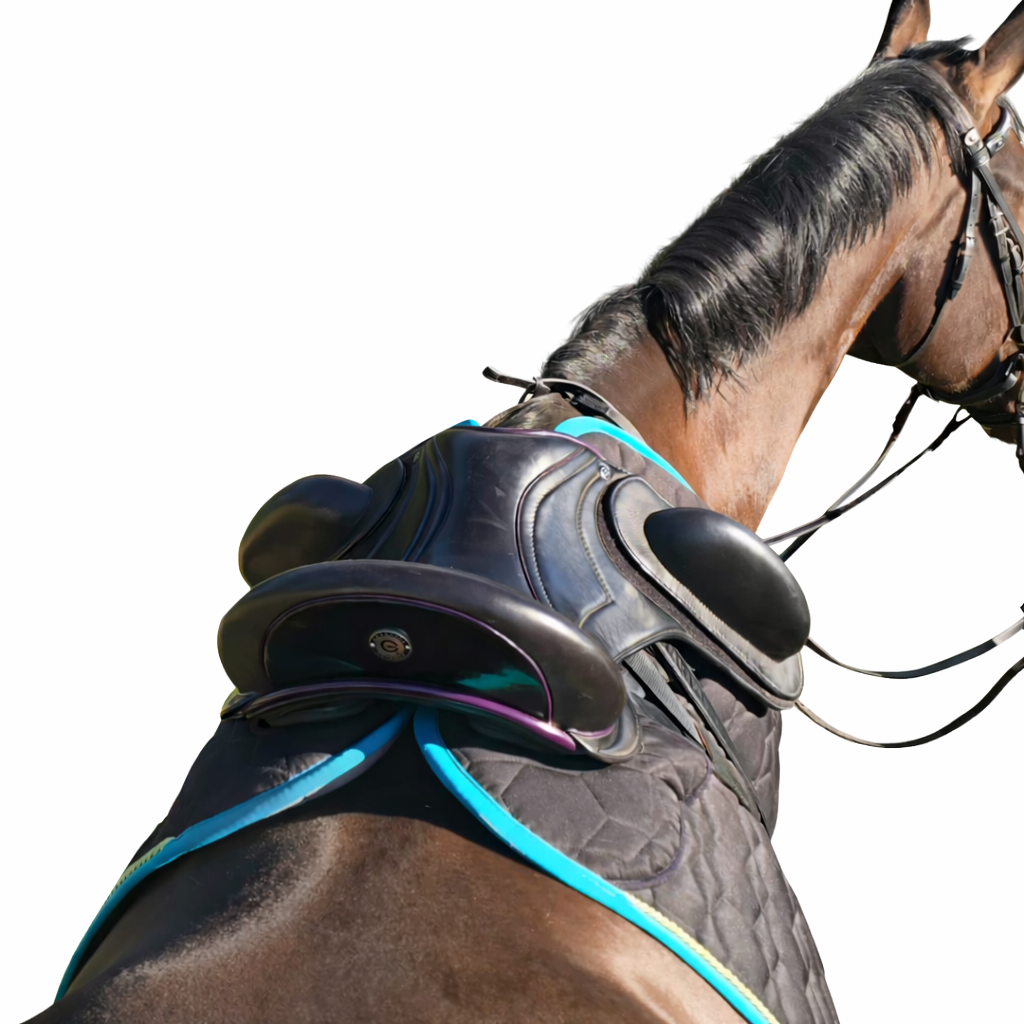
Start your test ride with a pair of embedded thigh blocks. You’ll have some adjustability with maximum security.
Getting Perfect Placement
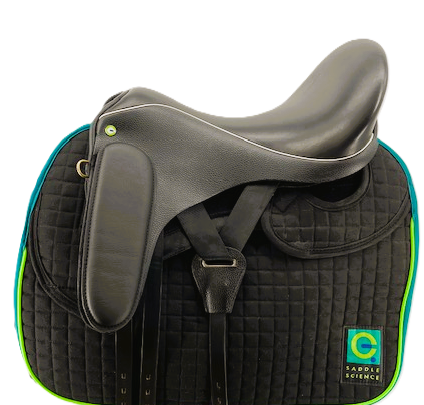
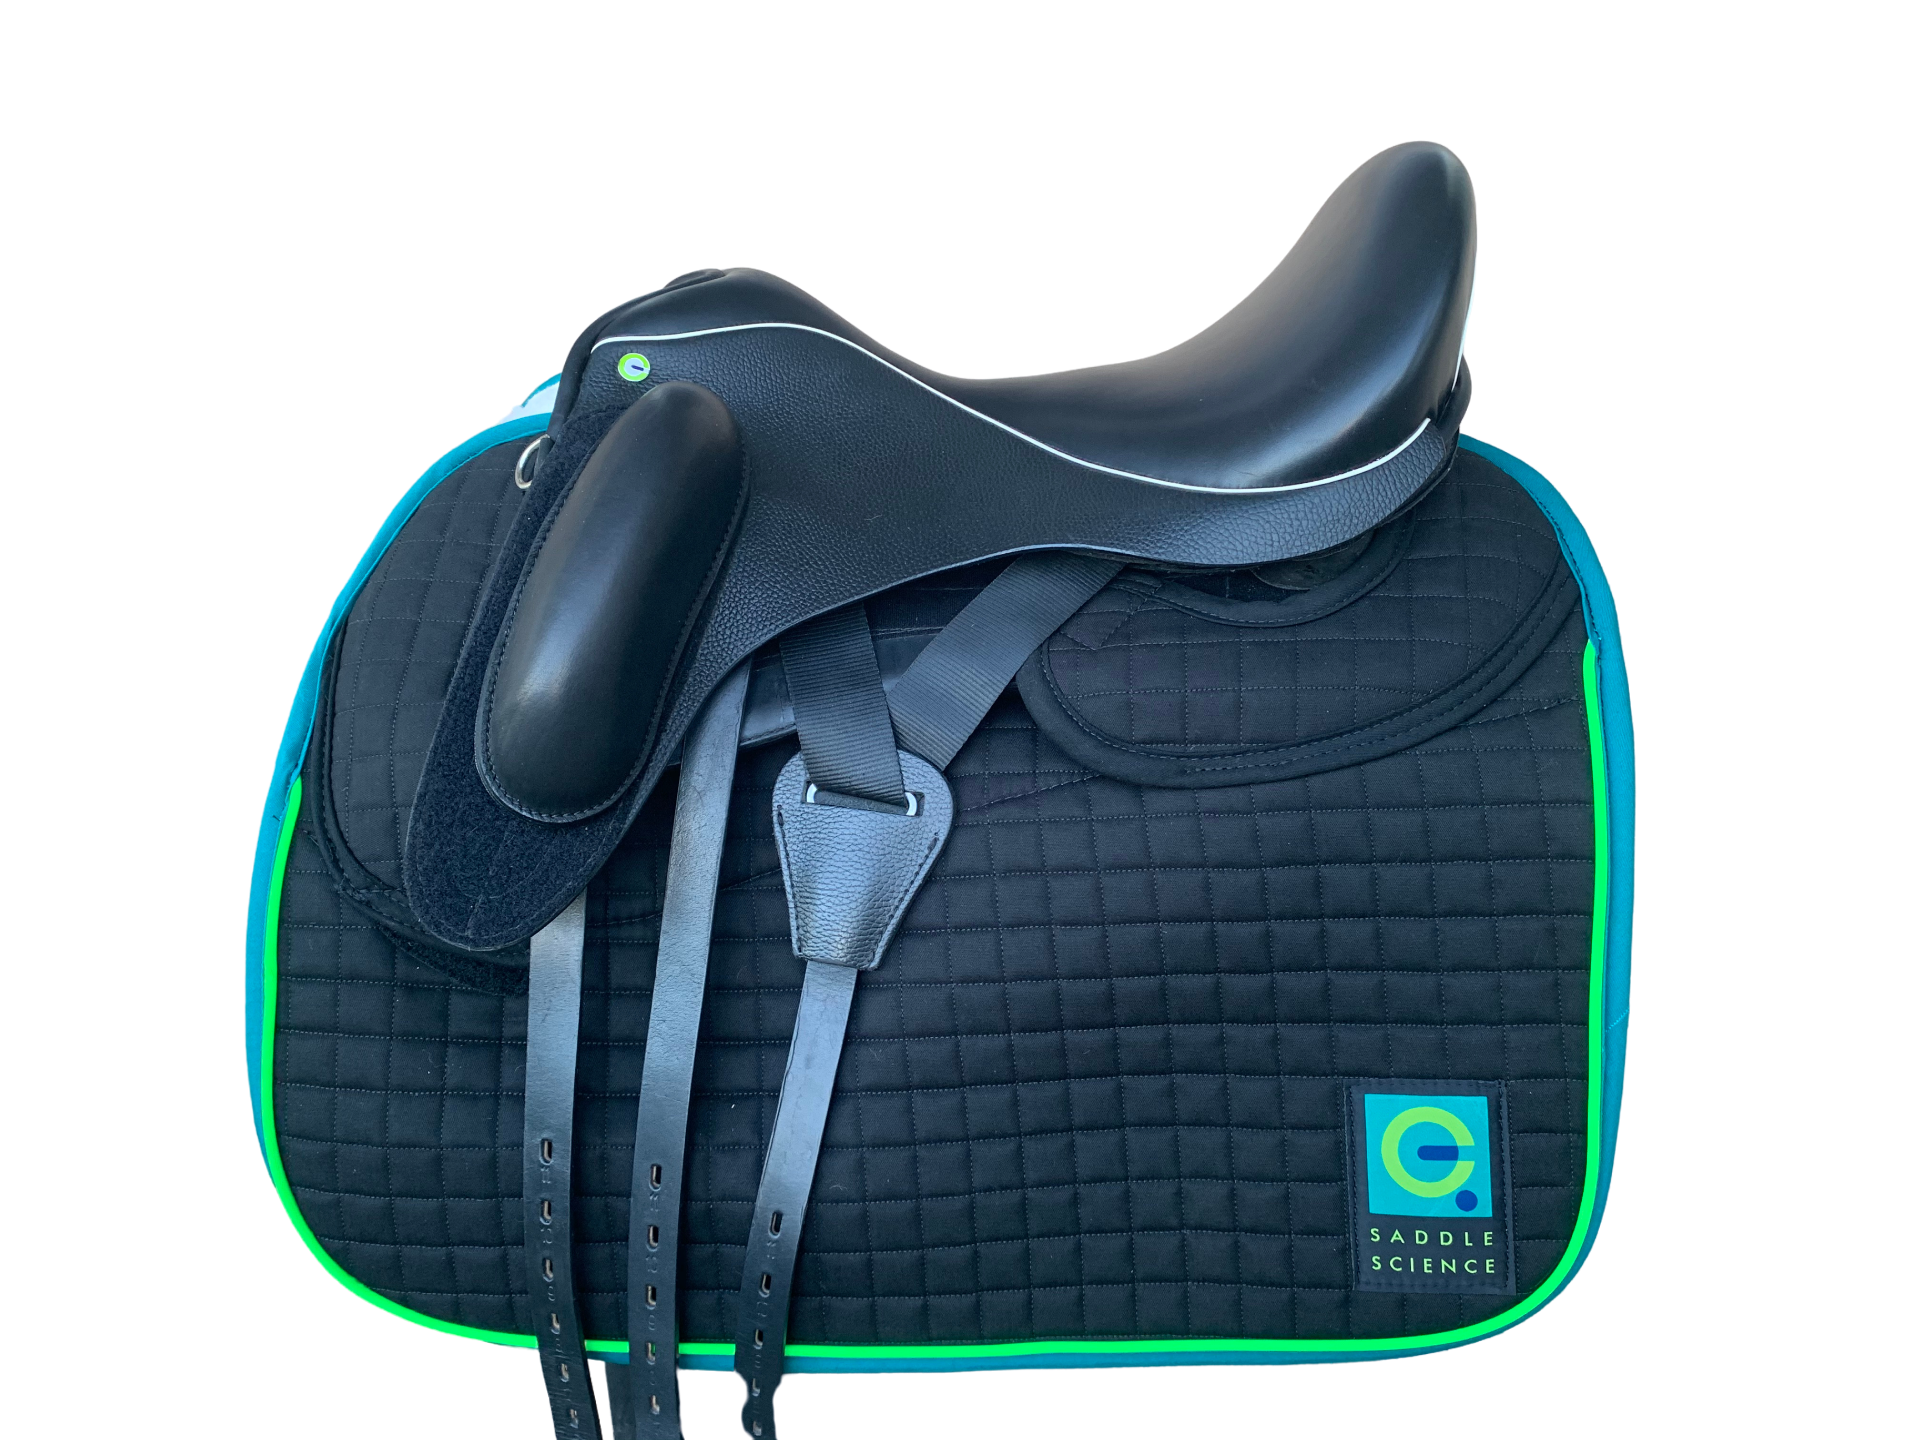
When you’re ready to dial in the block fit for you (generally after a few rides in the saddle) we suggest that you mount without blocks (provided that you are comfortable with this idea). Use a friend - or a mirror - to help you place the block between your thigh crease and knee cap, and parallel to - but not quite touching - the front of your thigh. Start there, and warm up in walk. Ignore the block, unless it’s bothering you, because you’ll want to use trot to refine the position.
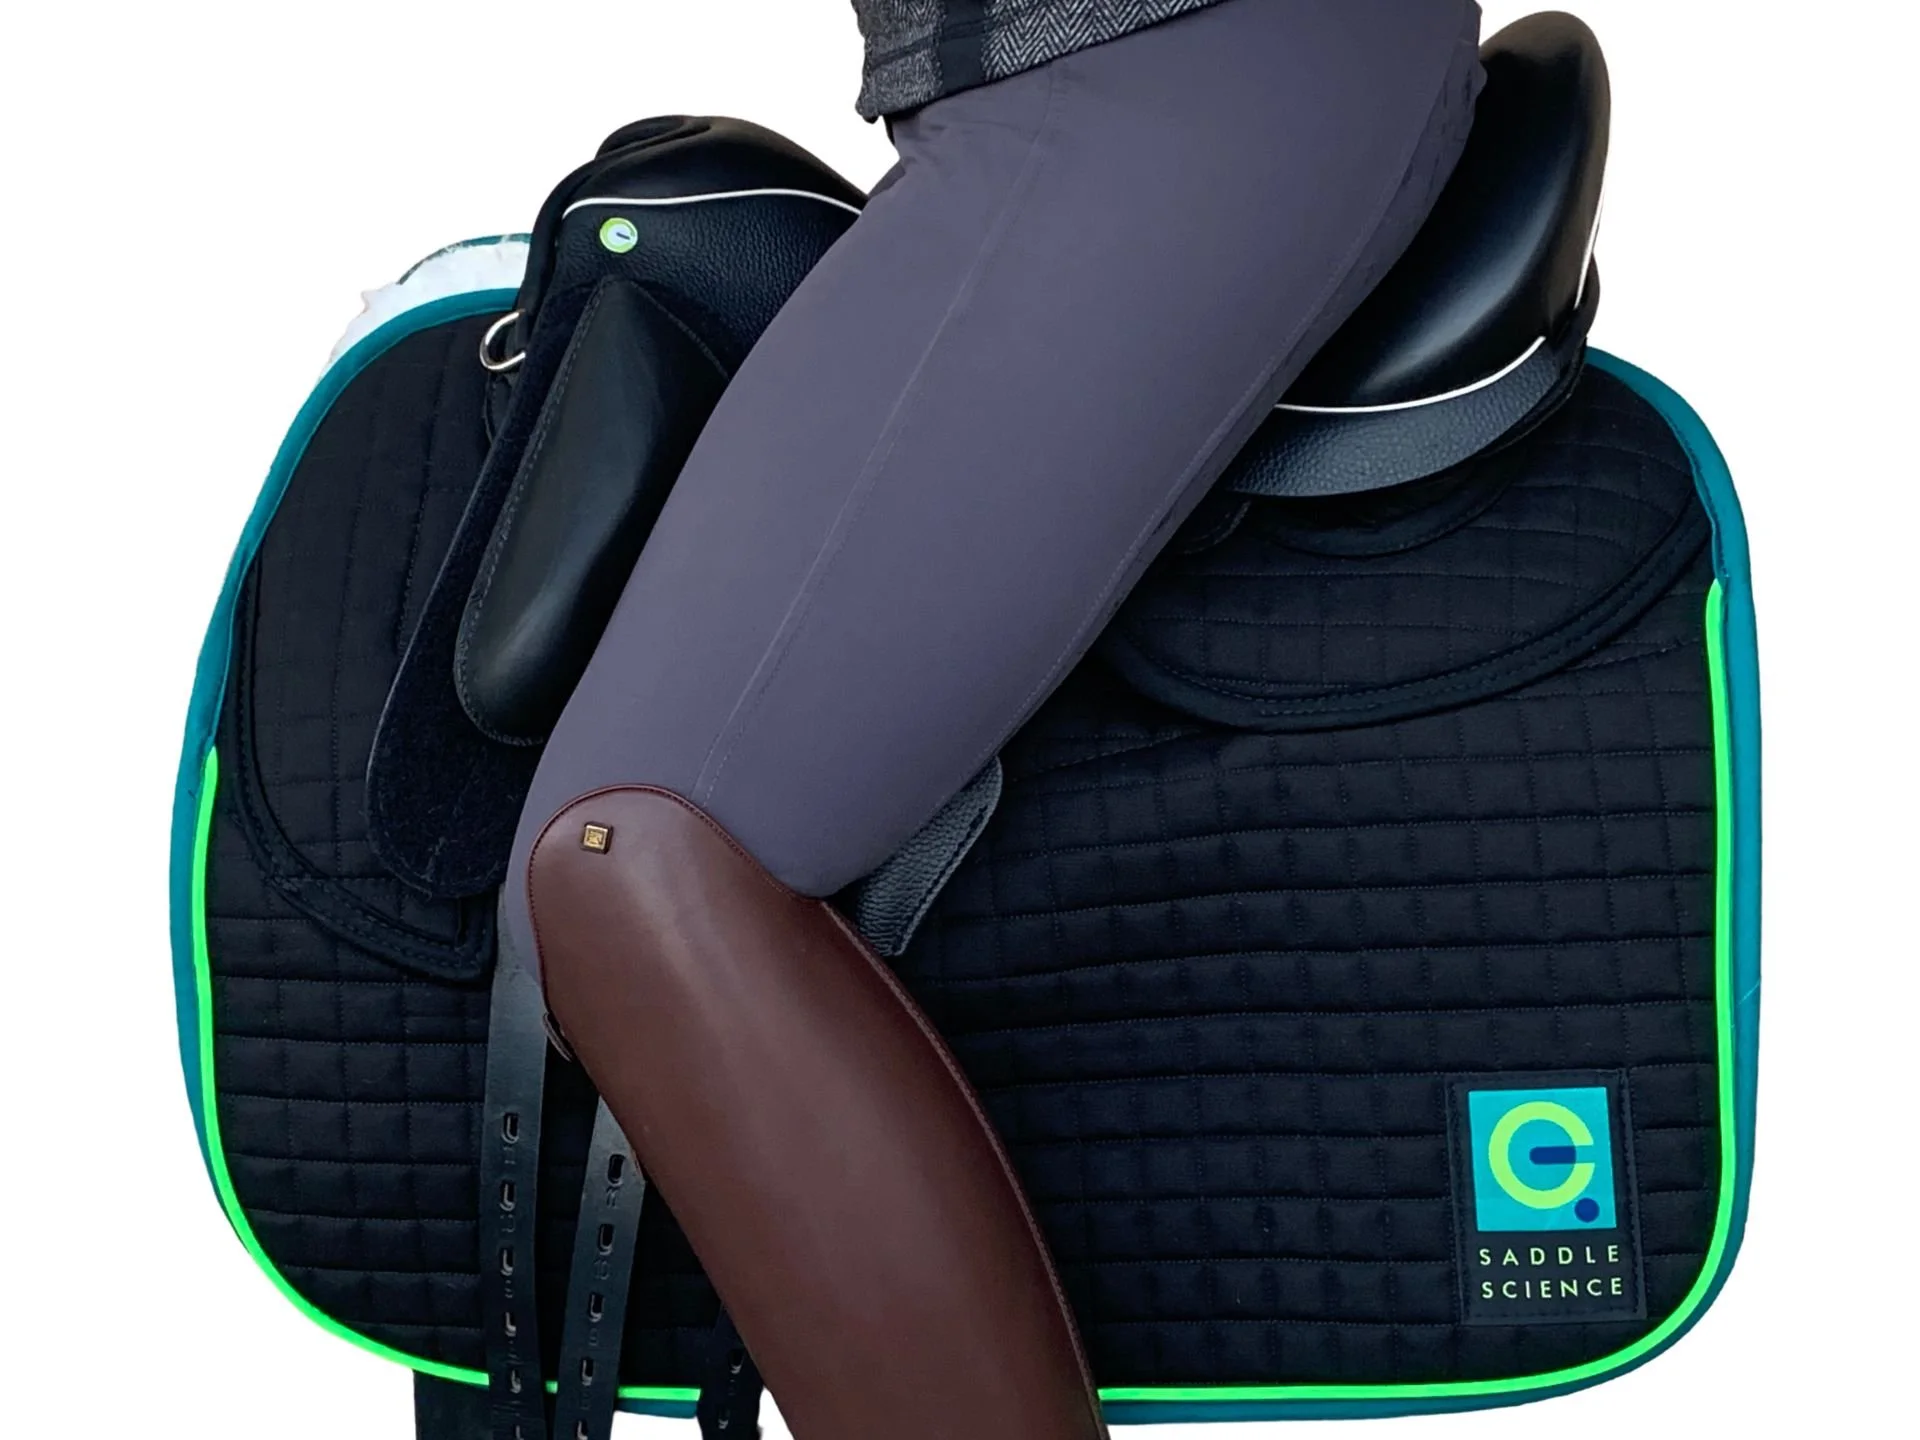
Place the stand-alone velcro blocks precisely for ultimate support and comfort
When you post the trot, note how the blocks affect your thigh. If the blocks are too high, or angled too far back, they may bump your thighs as you rise. If this happens, lower the blocks or move the top edges forward (or sometimes both). To use the blocks as a tool, imagine kneeling on the blocks as you rise.
When you sit the trot, you should find that the blocks give your thighs a gentle “hug” of support. If the blocks are too far back, you might feel that your hip joints are forced open; if the blocks are too far forward, you might find yourself pulling your knees up as you search for support from the blocks.
When you think you have the right position in sitting and posting trot, verify that you’re getting the support you need in canter.
Below, you’ll see interesting ways that people have chosen to use velcro-on blocks (or velcro covers) to create the exact amount of support that they need in the saddle.
Tips for getting the blocks just right:
Set them differently on the right and the left to see which position is more effective/comfortable for you, then move the other one to match.
Move the stirrup bar. It will significantly change your relationship with the thigh block.
Hang in there if they feel a bit strange, as strange will become distinctly comfortable or uncomfortable with the passage of time.
If you’ve got a body asymmetry that is unlikely to resolve, such as one artificial hip, consider a slightly different position for the block on the right side vs. the one on the left side (and perhaps the adjustable stirrup bar, too).